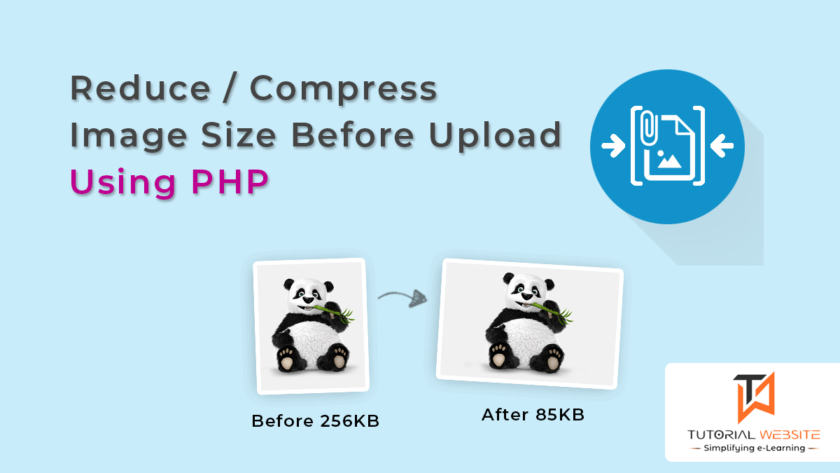
Reduce Image Size Before Upload Using PHP is an important feature for any web developer.The feature of image uploading is popular in web projects that require users to upload pictures to set the profile picture or to maintain their image gallery. The most frequent uploading of large image files requires too long loading and ranking effects on the website. The uploaded images are therefore very important and should be reduced as much as possible. This tutorial shows you how to Reduce Image Size Before Upload Using PHP without losing quality.
PHP allows you to easily implement compress / optimize image before upload. The file size is reduced before uploading when compressing the image. The compressed image will reduce the storage uses of the server and load the web page more quickly. We’ll teach you in this tutorial how to compress the image with PHP before you upload it.
SEE ALSO: jQuery to Preview and Rotate an Image Before Upload using PHP
So let’s start coding. We’ll have the following file structure to reduce or compress image size without losing quality while uploading using PHP.
- index.php
- upload.php
Step-1: Create Image Upload Form
First, we create an HTML image upload form in index.php. When the form is submitted we will manage image upload in upload.php.
|
2 3 4 5 6 7 8 |
<form action="upload.php" method="post" enctype="multipart/form-data"> <label>Select Image File:</label> <input type="file" name="image"> <input type="submit" name="submit" value="Upload"> </form> |
Make sure the <form> tag contains the following attributes.
method="post"enctype="multipart/form-data"
Step-2: Compress and Upload Image with PHP
The image compression and upload operations are handled in the upload.php file.
|
2 3 4 5 6 7 8 9 10 11 12 13 14 15 16 17 18 19 20 21 22 23 24 25 26 27 28 29 30 31 32 33 34 35 36 37 38 39 40 41 42 43 44 45 46 47 48 49 50 51 52 53 54 55 56 57 58 59 60 61 62 63 64 65 66 67 68 69 70 71 72 73 74 75 76 77 78 79 |
<?php /* * Custom function to compress image size and * upload to the server using PHP */ function compressImage($source, $destination, $quality) { // Get image info $imgInfo = getimagesize($source); $mime = $imgInfo['mime']; // Create a new image from file switch($mime){ case 'image/jpeg': $image = imagecreatefromjpeg($source); imagejpeg($image, $destination, $quality); break; case 'image/png': $image = imagecreatefrompng($source); imagepng($image, $destination, $quality); break; case 'image/gif': $image = imagecreatefromgif($source); imagegif($image, $destination, $quality); break; default: $image = imagecreatefromjpeg($source); imagejpeg($image, $destination, $quality); } // Return compressed image return $destination; } // File upload path $uploadPath = "uploads/"; // If file upload form is submitted $status = $statusMsg = ''; if(isset($_POST["submit"])){ $status = 'error'; if(!empty($_FILES["image"]["name"])) { // File info $fileName = basename($_FILES["image"]["name"]); $imageUploadPath = $uploadPath . $fileName; $fileType = pathinfo($imageUploadPath, PATHINFO_EXTENSION); // Allow certain file formats $allowTypes = array('jpg','png','jpeg','gif'); if(in_array($fileType, $allowTypes)){ // Image temp source $imageTemp = $_FILES["image"]["tmp_name"]; // Compress size and upload image $compressedImage = compressImage($imageTemp, $imageUploadPath, 75); if($compressedImage){ $status = 'success'; $statusMsg = "Image compressed successfully."; }else{ $statusMsg = "Image compress failed!"; } }else{ $statusMsg = 'Sorry, only JPG, JPEG, PNG, & GIF files are allowed to upload.'; } }else{ $statusMsg = 'Please select an image file to upload.'; } } // Display status message echo $statusMsg; ?> |
- compressImage() is a custom function that helps to compress and save image on the server using PHP.
- If the file is submitted,
- Retrieve the file info using the PHP $_FILES method.
- Compress size and upload image using
compressImage()function. - Render the image upload status.
SEE ALSO: How to show image thumbnail before upload with jQuery
Conclusion: Reduce Image Size Before Upload Using PHP
All users want to load their website quickly and make the site user-friendly. That is the solution to such users, and by following simple steps you can easily set up all the code and script.
Are you want to get implementation help, or modify or extend the functionality of this script? Submit paid service request
Pradeep Maurya is the Professional Web Developer & Designer and the Founder of “Tutorials website”. He lives in Delhi and loves to be a self-dependent person. As an owner, he is trying his best to improve this platform day by day. His passion, dedication and quick decision making ability to stand apart from others. He’s an avid blogger and writes on the publications like Dzone, e27.co
